
Welcome to my comprehensive guide on recording audio and desktop screen on OpenBSD. In this blog post, I’m excited to share my personal setup and approach to efficiently capturing high-quality audio and video on one of the most secure and stable operating systems available. Whether you’re a professional content creator, a developer looking to record tutorials, or simply an OpenBSD enthusiast, this guide is tailored to help you navigate the intricacies of screen recording in this unique environment. Alongside this step-by-step tutorial, I’ve also included a practical YouTube video to demonstrate the quality and effectiveness of the recordings you can achieve with this setup. So, let’s dive in and explore the world of audio and video recording on OpenBSD!
First and foremost, let’s address the security aspect. OpenBSD, known for its
robust security measures, has both microphone and video recording disabled by
default. This is a thoughtful feature to protect your privacy, but when it
comes to recording audio and video, we need to enable these capabilities. For
those occasions when you need them temporarily, you can conveniently activate
them using the sysctl(1) command. However, if you find yourself requiring these
features more regularly, a more permanent solution is to add the necessary
configurations to sysctl.conf(5). This approach ensures that your settings are
preserved even after a system reboot, streamlining your recording process for
future sessions. Let’s walk through how to activate these essential features,
keeping in mind OpenBSD’s commitment to security and user control.
Temporary::
# sysctl kern.audio.record=1
# sysctl kern.video.record=1
Permanently:
# echo kern.audio.record=1 >> /etc/sysctl.conf
# echo kern.video.record=1 >> /etc/sysctl.conf
Setup the mic #
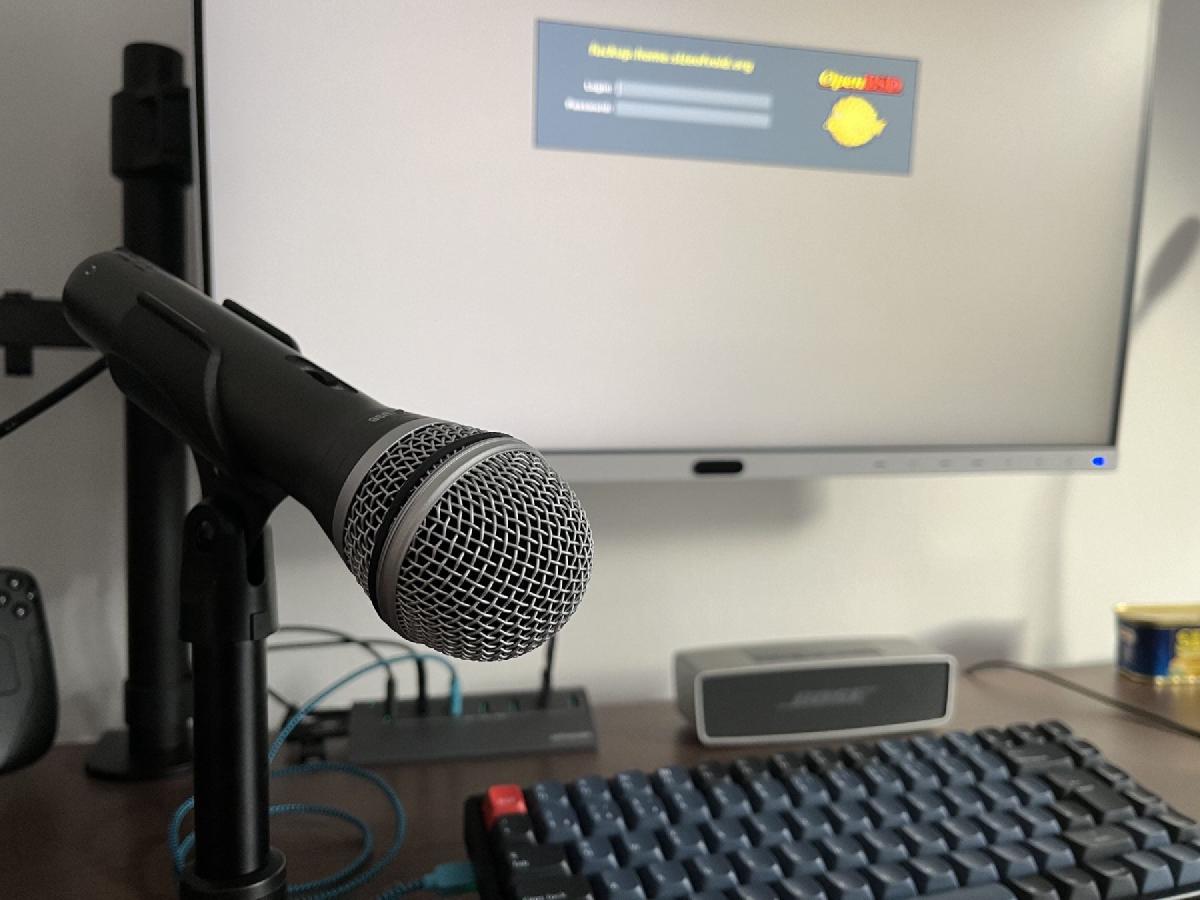
In my personal setup, I’ve opted for a high-quality external USB microphone —
the Samson Technologies Samson Q2U Microphone. This choice significantly
improves the audio quality of my recordings. To confirm its connectivity and
ensure everything is functioning correctly with OpenBSD, I use the dmesg(1)
command. When I run this command, it displays the microphone’s details as
follows, indicating that the system has successfully recognized and is ready to
utilize this external device:
uaudio1 at uhub1 port 9 configuration 1 interface 1 "Samson Technologies Samson Q2U Microphone" rev 1.10/10.03 addr 13
uaudio1: class v1, full-speed, sync, channels: 2 play, 2 rec, 7 ctls
audio2 at uaudio1
uhidev8 at uhub1 port 9 configuration 1 interface 3 "Samson Technologies Samson Q2U Microphone" rev 1.10/10.03 addr 13
uhidev8: iclass 3/0, 1 report id
To capture a Monitor Mix of all audio playback, it’s essential to create a
‘monitor’ sub-device within sndiod(8). This step is crucial as it enables the
recording of all audio outputs simultaneously, providing a comprehensive mix of
the sound being played back. This process ensures that every element of your
audio landscape is captured accurately, enhancing the overall quality of your
recordings.
# rcctl set sndiod flags -s default -m play,mon -s mon
# rcctl restart sndiod
To confirm your mic setup record mic and desktop audio from the snd/mon and
snd/1 device, for instance:
$ aucat -f snd/0.mon -o desktop-audio.wav
$ aucat -f snd/1 -o mic.wav

# test your record:
$ aucat -i desktop-audio.wav
$ aucat -i mic.wav
Screen recording with audio #
The final step in our journey is to record the desktop screen while capturing
all audio sources. This is where we bring everything together. Below, I’ve
outlined a straightforward ffmpeg(1) command, complete with detailed explanations
of each parameter to guide you through the process. Additionally, I’ve included
two practical examples to demonstrate how this command can be applied in
real-world scenarios. These examples are designed to give you a clear
understanding of how to effectively capture both your desktop screen and the
rich tapestry of audio sources in your OpenBSD environment.
ffmpeg \
        -f sndio \                  # input audio source 1
        -thread_queue_size 4096 \   # This option sets the maximum number of
                                    # queued packets when reading from the file or device.
                                    #  4096 works quite well with multiple inputs
        -i snd/0.mon \              # desktop audio

        -f sndio \                  # input audio source 2
        -thread_queue_size 4096 \   # This option sets the maximum number of
                                    # queued packets when reading from the file or device.
                                    #  4096 works quite well with multiple inputs
        -i snd/1 \                  # "Samson Technologies Samson Q2U Microphone"

        -filter_complex amix=inputs=2:duration=first \ # Audio filter
                                                       # amix=inputs=2 "overlay" filter for two audio inputs
                                                       # We use -i so limit the duration of data read from the input file.
        -f x11grab \                                   # Capturing your desktop and recording a video of your screen
                                                       # http://trac.ffmpeg.org/wiki/Capture/Desktop
        -thread_queue_size 4096 \                      # Same for maximum number of queued packets video
        -video_size 1920x1080 \                        # Option video recording size
        -framerate 30 \                                # Recording framerate
        -i :0 \                                        #
        -c:v libx264rgb -crf 0 -b:v 10000k -preset ultrafast \  # Video codec settings
        -c:a flac -b:a 160k -ar 48000 \                         # Audio codec settings
        output.mkv                                              # output file

# Example to recorde the whole desktop scrren with desktop audio an microphone.
$ ffmpeg \
        -f sndio -thread_queue_size 4096 -i snd/0.mon \
        -f sndio -thread_queue_size 4096 -i snd/1 \
        -filter_complex amix=inputs=2:duration=first:dropout_transition=2 \
        -y -f x11grab -thread_queue_size 4096 -r 30 -i :0 \
        -c:v libx264rgb -crf 0 -b:v 10000k -preset ultrafast \
        -c:a flac -b:a 160k -ar 48000 \
        output.mkv

# Example to record the whole desktop scrren without audio.
$ ffmpeg \
        -y -f x11grab -thread_queue_size 4096 -r 30 -i :0 \
        -c:v libx264rgb -crf 0 -b:v 10000k -preset ultrafast \
        -c:a flac -b:a 160k -ar 48000 \
        output.mkv
In conclusion, I hope this guide has been illuminating and practical. For a more dynamic understanding of the process, don’t forget to check out the accompanying YouTube video. It showcases the actual recording process in action, giving you a real-life example of how these steps come together to create a seamless audio and video recording experience on OpenBSD: